Whether you paint your nails or not, we all want healthy and clean nails. We use our hands for almost everything, every day, which means that our hands, including our nails, should be in good shape.
But have you been wanting to go to a nail salon to get your nails pampered, yet you couldn’t for some reason? Then don’t you worry – we will guide you through the 8 steps on how to professionally take care of and prep your nails in the comfort of your home!
Step 1: Clean your hands and nails
Source: OPI
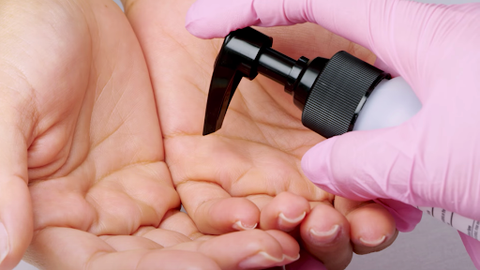
It goes without saying that when you’re cleaning your nails, you will have to clean your hands thoroughly to prevent infections from happening. After which, spray the OPI N.A.S. 99 Nail Cleansing Solution, ₱ 1,100, onto the nail plates to further cleanse them before (and even after) the application of your nail products. This removes any excess oil and moisture to improve the adhesion of nail products.
Step 2: Trim and file your nails
 Source: OPI
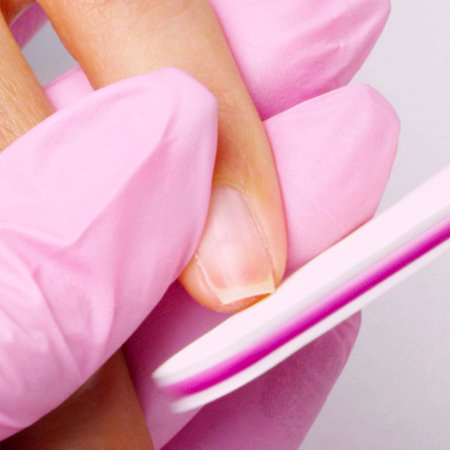
Go ahead and trim your nails with a nail cutter if you feel like it! But whether you cut them short or not, use the OPI Crystal File, ₱ 890, to file the edges of your nails (from the sides to the center) until you get the nail shape you desire. Filing your nails will prevent them from splitting and chipping, and will create a cleaner and smoother look for the nails – so this step is a must!
Step 3: Push back the nail cuticles
Source: OPI
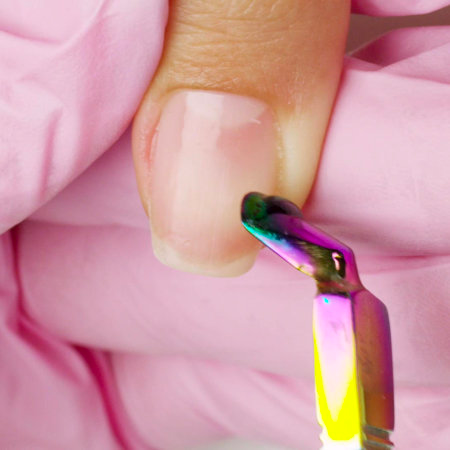
For this step, use the Nghia Professional Cuticle Pusher P-03, ₱ 595, to push back the eponychium to reveal the true cuticles. Be as gentle as you can and remember to start pushing from the sides of the nails towards the center. The goal of this step is to loosen up any dead cuticle growth from your nails.
Step 4: Gently nip away the cuticles
Source: OPI
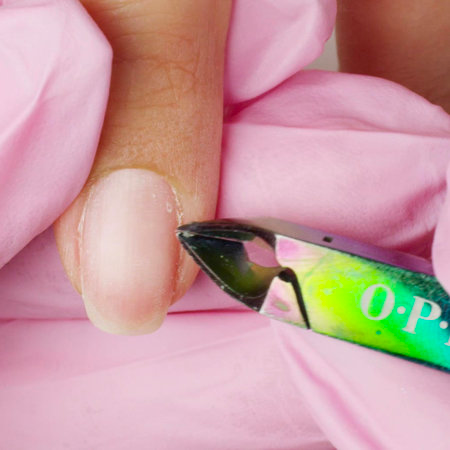
Now, you can gently nip away the lifted cuticles and hangnails from your nails with the use of the Nghia Professional Cuticle Nipper CL-203, ₱ 1,850. This cleans up your fingernails really well and creates a plain canvas for the smooth application of nail lacquers if you’re planning to get them colored!
Step 5: Buff each nail
Source: OPI
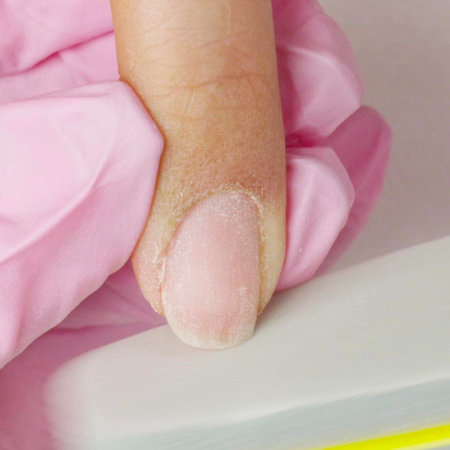
Buff your nails, especially the cuticle area, to give them a smooth surface. This would make the application of the colored nail polish easier resulting in a neater look. Use the CND Glossing Buffer, ₱ 385, to shape, smooth, and shine your nails!
Step 6: Apply a base coat on your nails
Source: OPI
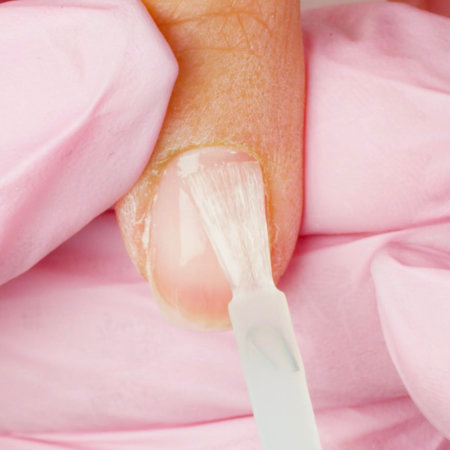
Great! Now that you have finally prepped your nails, the next step is to evenly apply a base coat – the OPI Infinite Shine ProStay Primer Base Coat, ₱ 950, is a great choice. It provides optimum sticking power which keeps polish vibrant for as long as 11 days! Let it dry for at least one minute before you proceed to the next step.
Step 7: Apply colored nail polish on your nails
Source: OPI
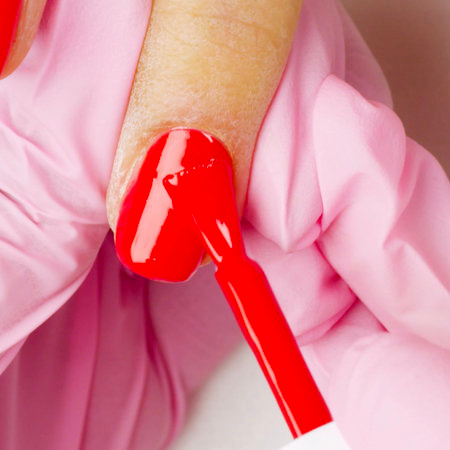
Shake the nail polish of your choice for one minute to ensure that the pigments are fully dispersed. Apply a thin layer of nail polish from the cuticle area towards the tip of the nail and make sure to evenly distribute the polish! Apply more coats as desired.
Also, we have a collection of OPI Nail Polishes that you may want to take a look at – we have neutral and vibrant colors that are long-lasting and have a high-shine finish. So, go take your pick!
Step 8: Apply a top coat on your nails
Source: OPI
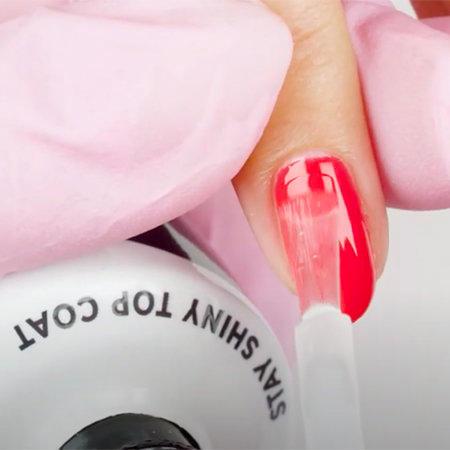
Once your colored nail polish has been applied and dried off, apply a nice and even layer of the OPI Nature Strong Nail Lacquer Top Coat, ₱ 950, to the whole surface of your colored nails. This will create an additional layer to your nails for extra high shine and color protection. Don’t forget to apply it on the edge of your nails to fully seal in the color!
Who would’ve known that taking care of your nails has always been this easy? Now, you can prep and color your nails without going to a nail salon thanks to the Professional Nail Care collection at HairMNL. Got questions? Just send us a message!


