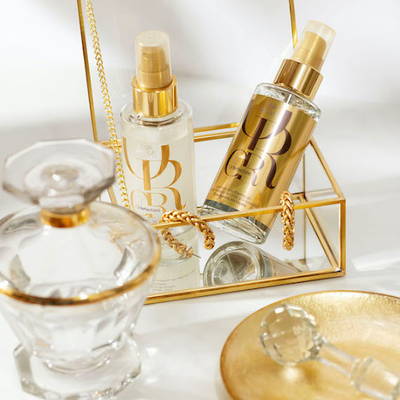
Now available L'Oréal Professionnel INOA Ammonia Free Hair Color.
Planning to start coloring your hair color at home? As tempting as it is to just buy a box of hair dye, and dump it all in one go, to get the best results, we want to offer a different approach. Whether you’re going for rose, midnight blue, caramel, or jet black, we believe planning is key to the perfect DIY hair color at home. So, we’ve created a comprehensive guide to help you from preparation to application, all through to aftercare. Enjoy your colored hair for longer with this helpful guide.

Planning and Preparation
Giving yourself at least a two weeks head start can do wonders in making your hair look amazing. Here are some quick preparation tips you can do to ensure your strands are stronger and more resilient to the chemicals in hair color.
Know Your Hair Condition
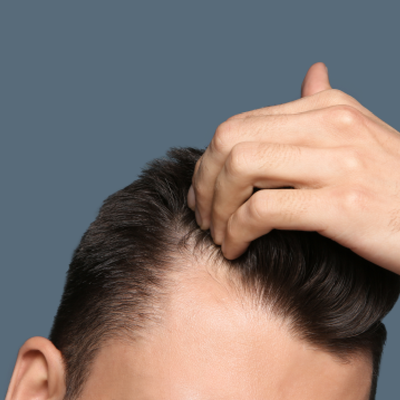
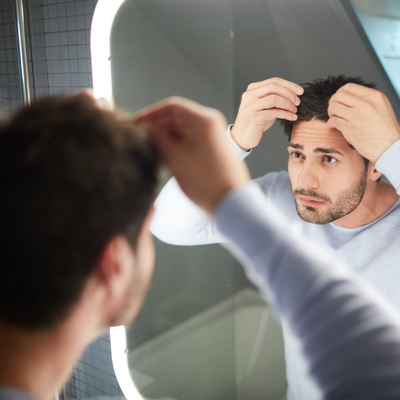
Leading up to the day of your hair color, consider the state of your hair. Are you experiencing hair fall, dandruff, scalp sensitivity, or do your strands feel dry, frizzy, or brittle? Preparing your hair to be at its best to receive hair color can help make sure your hair feels good even after you color it.
Have a hair concern? We’ve got fast-acting solutions to give your strands a boost. Talk to us about it.
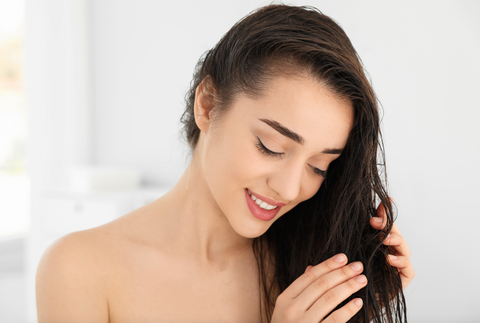
Start Using a Hair Mask
You want to make sure your hair is strong and healthy enough to withstand any color treatment, especially if you have bleached hair (more on this later). If you have dry and damaged ends, we recommend doing a tipping method, where you soak your tips with a bit of hair oil and mask once a week to strengthen them back up.
Not all masks are made the same. Find the hardworking one that fits your multiple needs here.
Dealing with Sensitive Scalp
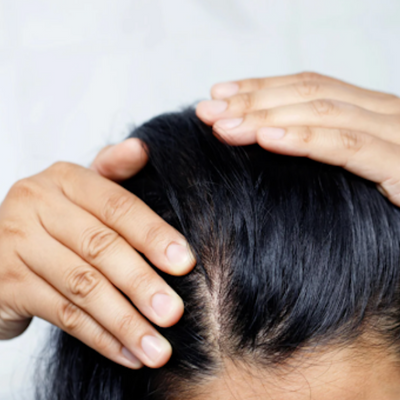
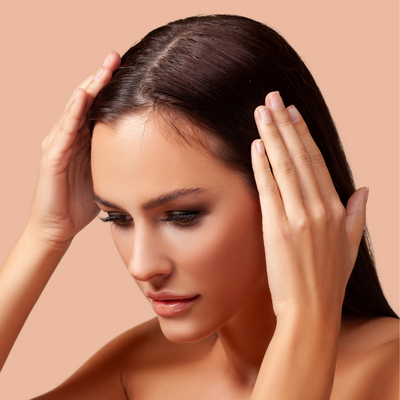
Sensitive scalps are often described as prickling, burning, stinging, or dry scalp, with some to moderate discomfort. Typically, a sensitive scalp makes it uncomfortable to even just comb your hair. If you are experiencing this make sure you have on hand a treatment available to you. Hair color can be, at least, very uncomfortable on sensitive scalps, so try using products created for sensitive scalps here.
For Bleached Hair
We want to take a moment to emphasize here that nothing beats an experienced salon professional when it comes to coloring hair, especially strands that have been compromised by bleach. Often store-bought hair colors have a one-size-fits-all approach to the potency of their products, which can further damage bleached hair. If you’re looking to simply tone your hair (remove brassy/yellow) or add temporary pastel colors, check out our collection of hair refreshers here.
Choosing Your Hair Color
When choosing a hair color, it’s good to remember that without stronger salon-grade treatments, you are generally limited to shades a few levels higher or lower than your current hair color. So, looking at the swatches on the box can only give you limited information on how it will look when applied to your hair. A box dye that says ash blonde for example will look completely different on a level 2 (darker black hair) versus a level 8 (medium blonde). If you are aiming for a specific hair color, it’s best to ask our salon professionals about it first. Chat with us here.
Cool Versus Warm Shades
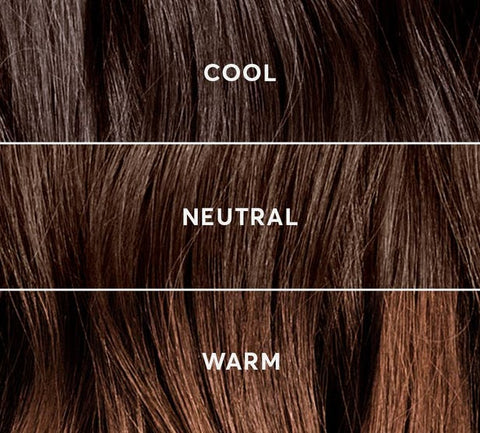
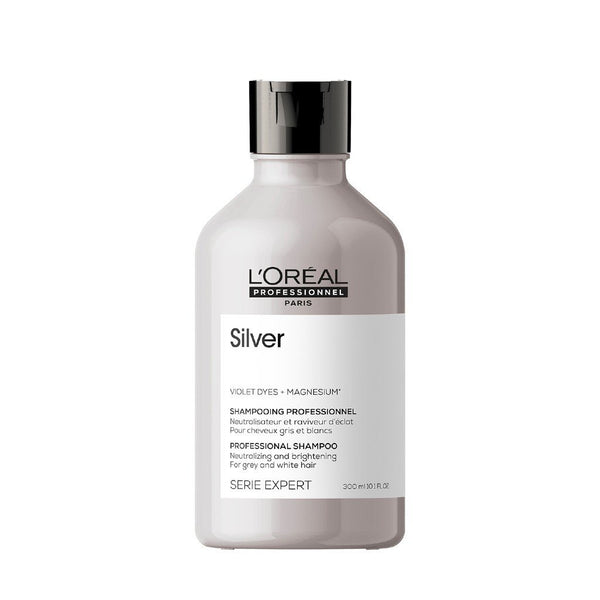
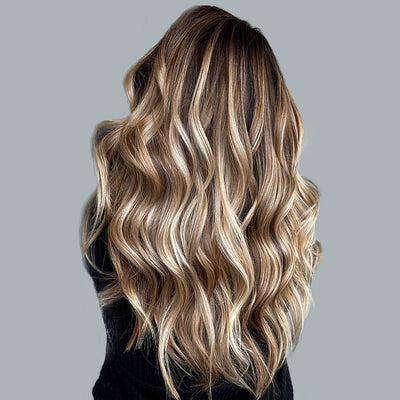
Knowing the lightness of hair color is only part of choosing the best color for you. Cool shades, like ash, midnight blues, and olives, have more blue or greens in them to tone down the natural warmth of your hair color. You’ll notice these are also the available colors on most pigmented shampoo toners (more on this in our after-care section). Warm shades, on the other hand, have more red, copper, and yellow in them. Knowing the difference can help you match the color that works best for your current hair color and skin type.
Ammonia-Free and Why Pro Hair Color is Better Than Box Dyes
The great thing about professional hair color versus regular box dyes is the amount of flexibility you’re allowed to enjoy — from ammonia-free options that don’t have that salon chemical smell, to varied shades and potencies that work better on thick hairs versus thin strands. Pro colors shouldn’t at all be intimidating to use, but if unsure whether this is for you, consult with our color professionals to help get you the best results possible.
Covering Grey
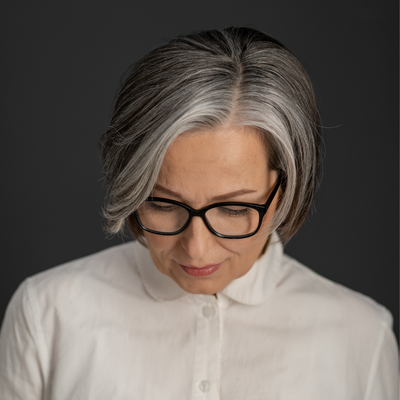
Off the bat, there is nothing wrong with grey hair. Some are even making their hair grey on purpose. But, natural white and grey hairs tend to grow differently and absorb color less efficiently, so if you’re interested in touching up your grey hairs, it’s best to choose permanent hair colors that are fit for the job. See the available options specially formulated for grey hairs here.
Lost as to what color works best for your hair? Send us a picture of your hair and your hair goals, then chat with us about it today. We promise to always keep it real.
Use Clarifying Shampoo A Day Before Hair Coloring
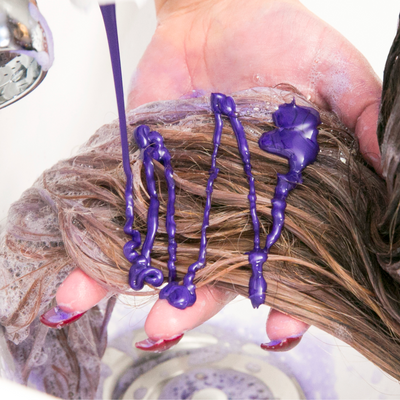
If you don’t have one on hand already, we recommend you get a clarifying shampoo to rid your scalp and strands of impurities that may prevent the absorption of hair color into your hair. From styling products to chlorine, hair oil, and even just conditioner residue, clarifying shampoos aren’t just great for a general scalp to cleanse, they’re also the ideal shampoo before you color your hair. Learn why you should add clarifying shampoo to your hair routine here.
The Myth About Not Wash Your Hair Before Coloring
(If you’ve already shampooed your hair with a clarifying shampoo)
We get a lot of questions about whether you need to wash your hair before color it. To that we say, it depends. If you’ve already washed your hair with clarifying shampoo the day before, and have rid your hair of any impurities then there is no need for you to wash it again. Also, your natural hair oils are often a good enough balance to protecting your locks from damage while still allowing the color to be deposited into your strands. Either way, it’s almost always best to work on completely dry hair, as excess water can affect/dilute chemicals used in your hair dye.
Hair Color Essentials
Now you’ve chosen your color and you’ve prepped your hair like a pro, it’s time to get started on coloring your hair. Here are the tools you need to get the best results.
- Hair Pigment/Color - Your Chosen Color
- Developer - lifts and deposits color
- Bowl - To mix colorant + developer
- Hair Paintbrush - For applying hair color
- Rat Tail Comb - For distributing color
- Plastic Gloves - Preferably past your wrists
- Ear Caps - Protect ears from stains
- Cape (optional) - Protect clothes from stains
- Old Shirt - if you have no cape
- Double Mirror - To help see back of the hair
- Crocodile Clips - to neatly Separate Layers
- Timer - To set the time
- Black Towel - or one that can be stained
- Petroleum Jelly - to put around the hairline
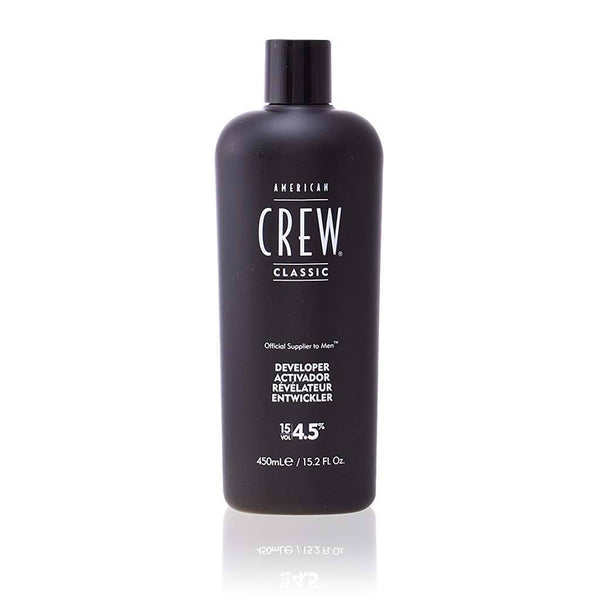
Why do you need a hair color developer?
A developer is mixed into a pigment to activate it and enabling it to penetrate the hair cuticle. It contains hydrogen peroxide to lift and deposit the hair color. By mixing a developer with hair color, the solution is activated. It also determines the resulting color depending on its ability to lift your current color from a 10 volume (no change in tone) to a 40 volume (lifts to 4 shades higher). If you have more than 50% gray hair, a 20 volume developer is effective enough to use for 100% gray coverage and long-lasting color. As for the ratio of the hair colorant and the developer, it is best to follow your pack instructions or talk to our experts. This side of chemistry should not be left to chance.
Ready to color your hair? Click here for part 2.


